Saturday 25 August 2012

New Bars...


12) The next job was to replace the existing 19inch front wheel with a 21inch. But finding a wheel to fit the existing hub was difficult. The shovel was looking more old school and skinny.

New bars fitted...


11) I shortened the bar ends by a couple of inches and fitted to the bike. The brake master cylinder was looking tired so I had it shot blasted. Fitted some brass pegs front and rear. Made a pair of brackets for the rear pegs and old school pillion pad.

Garage find...

10) Found these bars hung up in a friends garage amongst another hundred bars gathered in the roof space. Was once fitted to a BSA. A quick go over with Autosol and was ready to fit.

Apes...

9) Bought these 17inch Apes bars and fitted some old school grips. Didn't like the reach to the shifter so the bars didn't stay long. Had them on for couple of weeks but wasn't inkeeping with the old school skinny look the bike was destined to be.

Brass Skull...

8) A thread was drilled in the brass skull and fitted to the lever. A long arm clutch lever was made as leverage at first was poor. Using the existing clutch lever didn't give enough leverage and the bike would lunge forward in first gear. I made the long arm clutch lever from a piece of tubing and welded an old socket piece to the end which gave me that extra leverage required to set off smoothly. Greasing the lever and clutch (old gear shifter) helped too.

Jockey Shift

7) Jockey shift lever and knob arrived. Time to fit and play around with the shifter!

New leads fitted...

6) New black leads fitted in 5 minutes and finally removing all traces of yellow!

Open Belt Primary


5) The previous owner had fitted a 2" belt primary and widened chrome tin chaincases which had been welded on to the outer. Took a while to carefully remove without damaging the tin cases. The next job was to replace the yellow coil leads with black. Also fitted a rear strut which was later replaced with a sissy bar!

Back from paint

4) The tank and fender arrived back from the painters in satin black. Looked awesome and the hot rod flames were gone!

Fitting the Peanut tank...

3) Fitting the peanut tank instantly changed the look of the Shovel and the skinny chopper was born!
Drilling the frame and pre-fitting before treated with tank sealer.

The strip down...

2) First job was to remove the old twin tank, speedo, clocks and ignition before I could start on the electrics.

The Shovelhead Build...


1) The Shovel was painted in a hotrod style when I  bought it. I believe it had been like this for the last 14 years. Prior to the last owner (14 years ago) the Shovel was painted yellow and I mean everything! Wheels, chrome frame all yellow!!!

Monday 6 August 2012

Sissy Bar


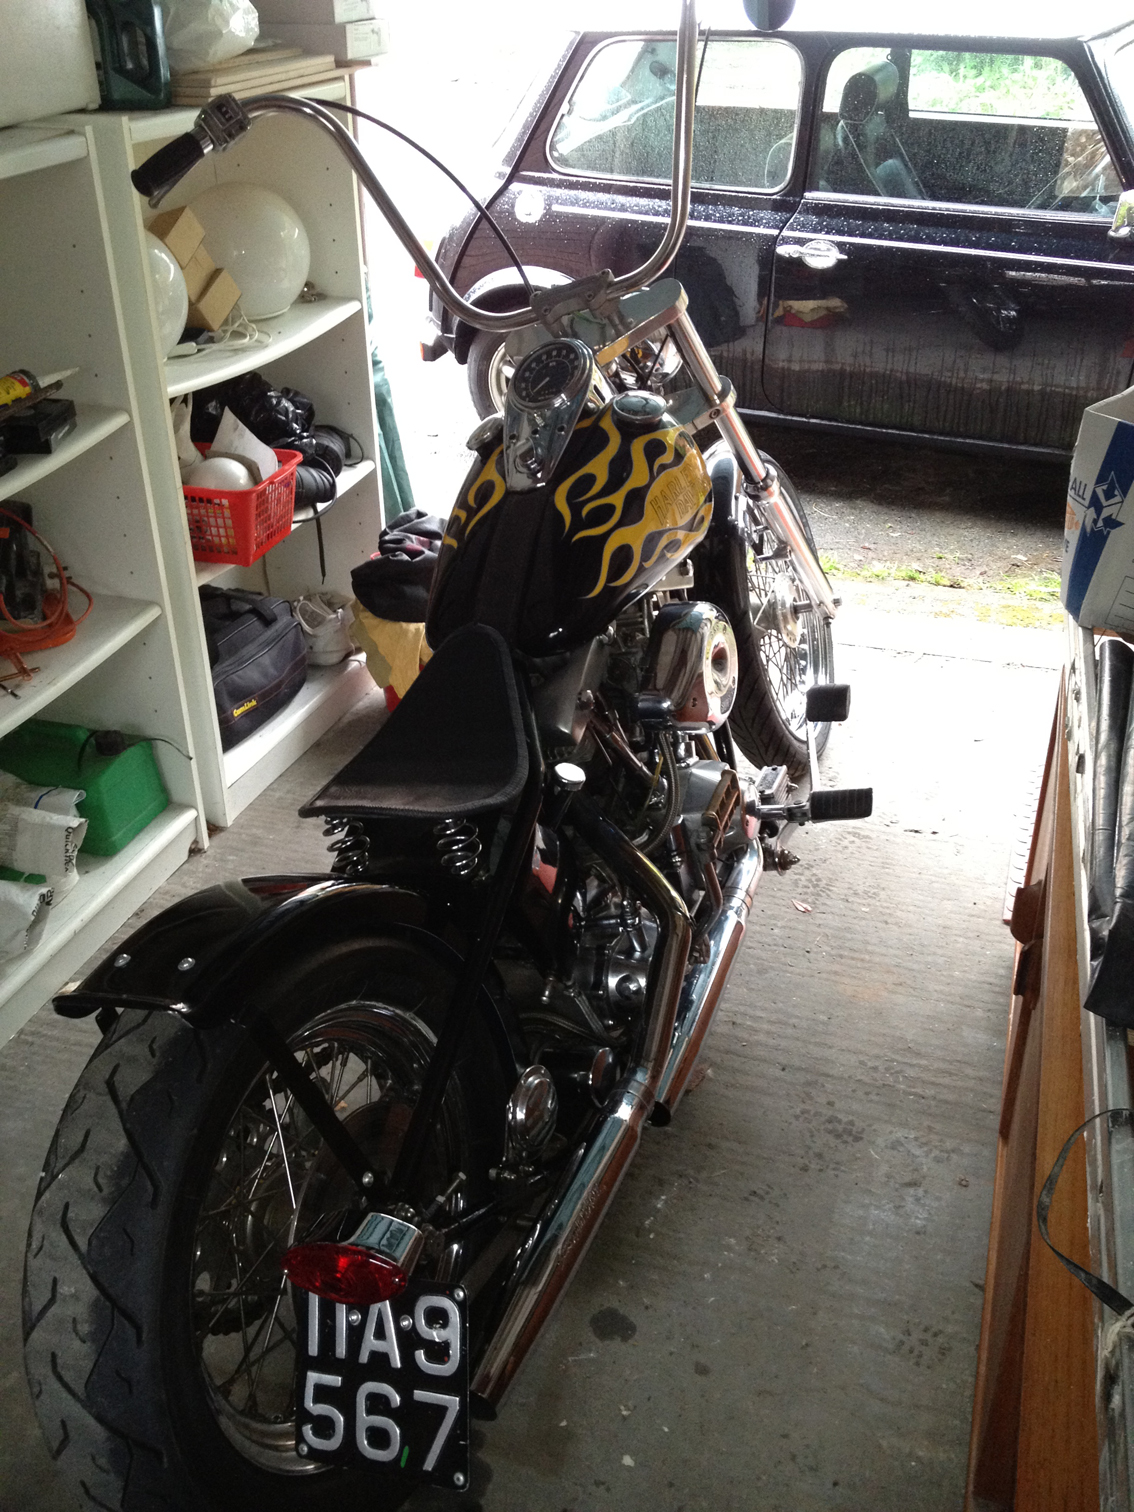
Just fitted the sissy bar. Bought from Jason at Old School Choppers and re-chromed in Castleford UK. Really gives the bike that old school Frisco look. Just required a little work to fit, drilling fender and a couple of holes for the tail light etc. The bars I bought on ebay and had them shipped from Detroit. They are original 70's twisty bars. Again, had them re-chromed at Midas Touch, UK.

Jockey Shift


Fitted a jocket shift and made a long arm clutch leaver as the short arm clutch didn't give me enough leverage. Used the original shifter as the clutch lever and bought the brass skull from Custom Chrome. Took around 2 weeks to get use too. Hills can be a nightmare, especially as you can't put your left foot down unless you shift into neutral first. Didn't think I was ever going to get the hang of it and its frustrating as hell whilst learning! Made some adjustments to the clutch assembley and now sets off much smoother.

'76 Shovelhead

Swapped the 19inch front wheel for a new 21inch wheel. Finding a wheel to fit and with the correct hub set up isn't easy! Standard 16 inch wheel on the rear with old school tyres. Just fitted the drag pipes and brass pegs.